It's a distribution for Raspberry Pi aimed at info displays
In case you need a display which shows full web pages without any address fields then FullPageOS is for you. In addition, you can contact your display (and raspberry Pi) via ssh and change the contect remotely.
Ok, where can I get it?
The latest image based on Raspbian Linux can be found here:
http://docstech.net/FullPageOS/ . Make sure the whole image is downloaded. I had to use wget since my browser didn't finish the job. If in doubt there is MD5 available to make sure the image is ok.
Image downloaded, then what?
Write the image on your SD-card. Use your favourite writer; for example
Win32DiskImager in Windows, UNetbootin, etc. Make sure your card is big enough.
Boot your Pi and start configuring
To make wifi work edit the file fullpageos-network.txt which you can find in the directory /boot. In case you are using LAN-cable there is no need to edit fullpageos-network.txt.
Place the SD-card in your Pi and boot FullPageOS. Login via SSH using the following user and password; pi and raspberry. Now, configure FullPageOS like you do in Raspbian using sudo raspi-config.
Finally, edit the file /boot/fullpageos.txt which tells the OS which web address opens when Raspberry Pi and FullPageOS boot. Bear in mind FullPageOS let's user to browse any web page! Ok, there is no address field... which is not stopping anyone!
Tip: If you need to know your current IP boot process echoes IP on screen for a second. That's an easy way to find out whether you have an IP or not.
That's it!
Wait, does it work? Did you try it?
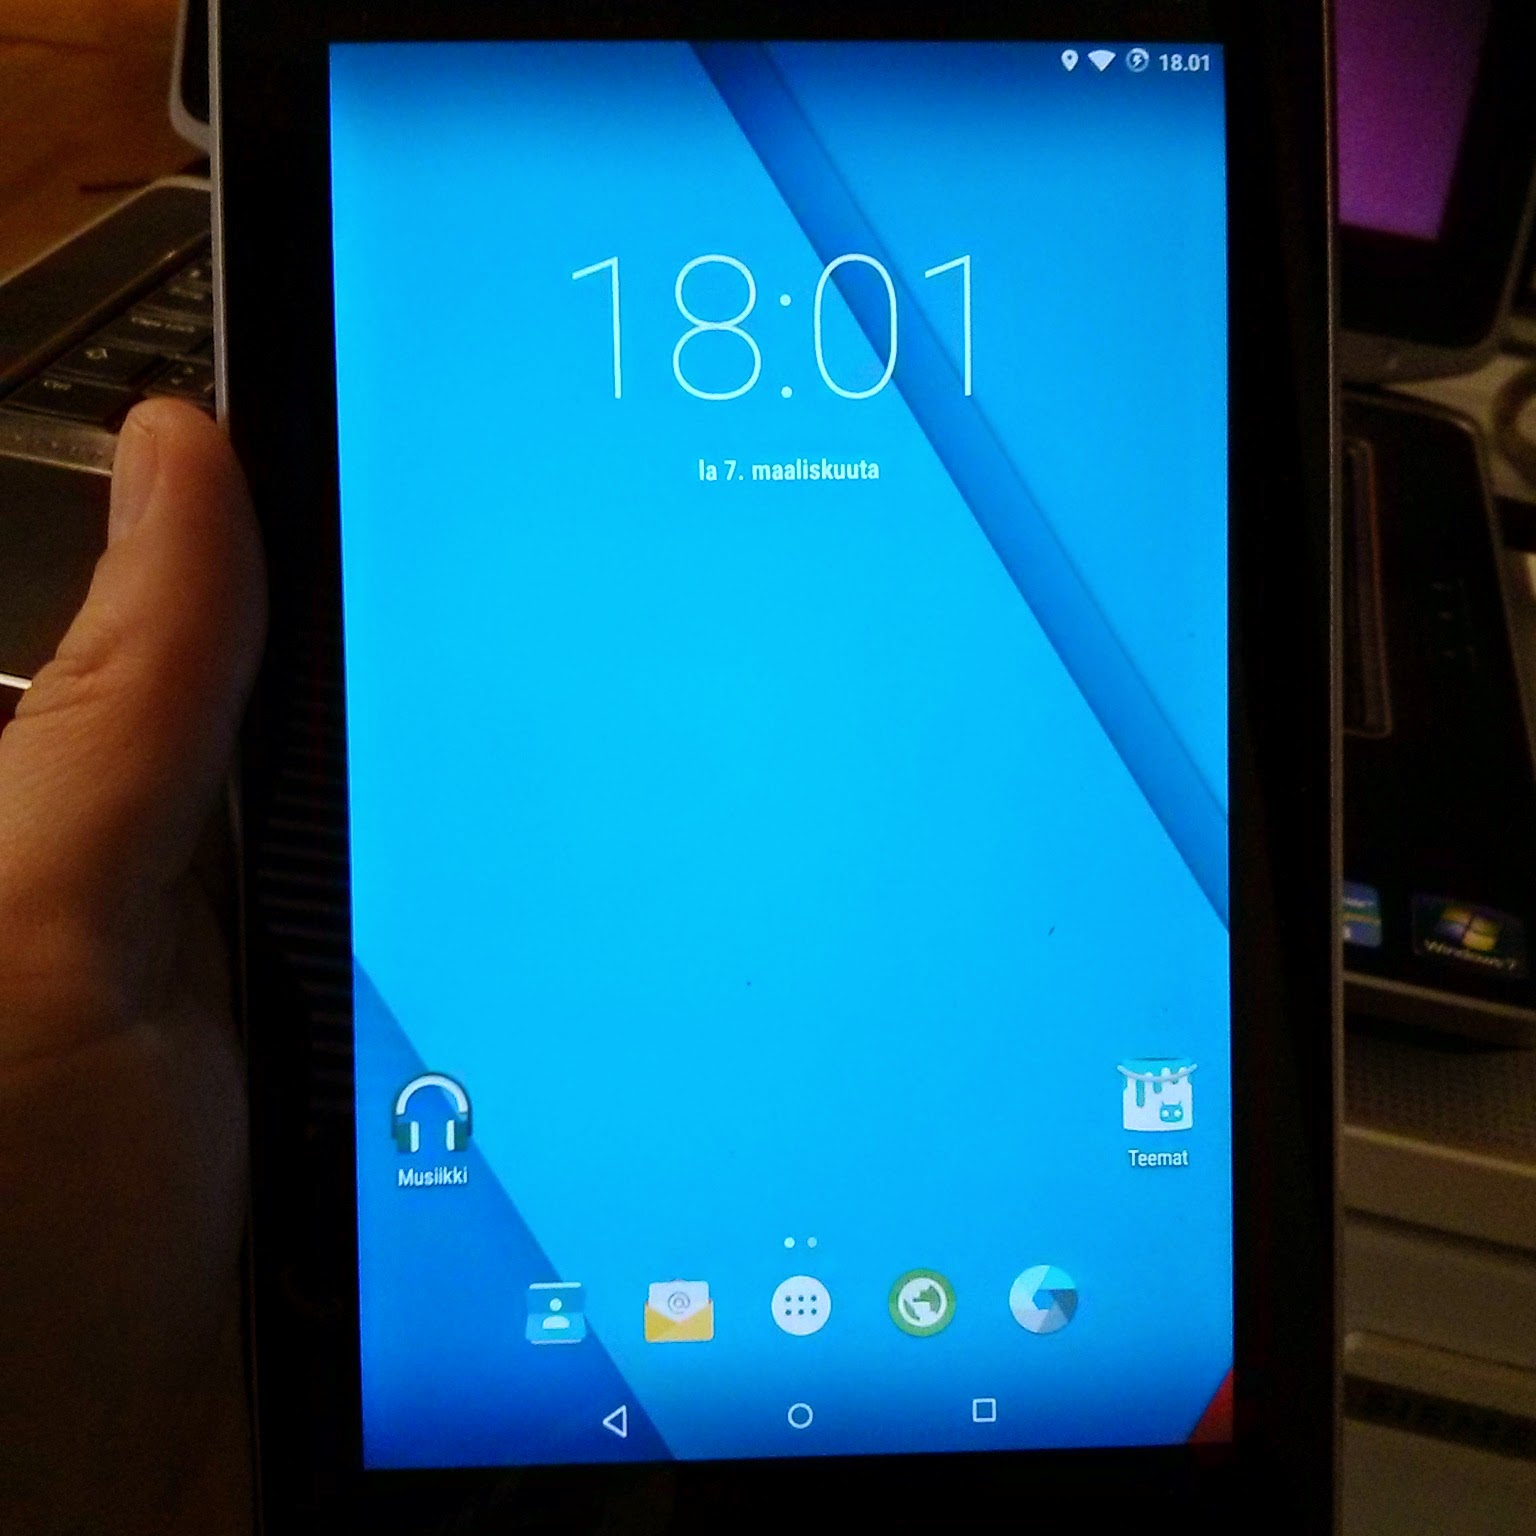
It does! I did! Look at the picture below!
Edit: Translation bar showed up. I chose "Never translate Finnish". Not showing anymore. I heard it's a bug. They are working on it!
FullPageOS up and running!
Connected via ssh
My Raspberry Pi B (1st gen)


